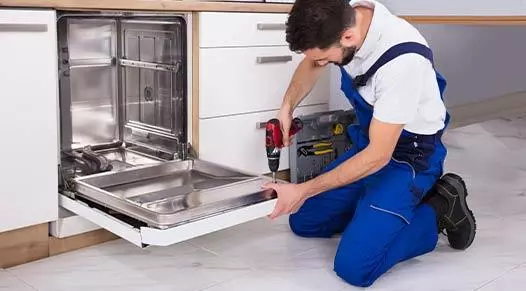
Call us today for expert repair service | Call us today for expert repair service

Washer installation

Appliance Installation

Dryer Repair

Fridge Repair

Washer Repair

About for Appliance Repair

At Appliance Repair – Guelph, we specialize in expert Appliance Repair – Guelph and installation services. With skilled technicians and a dedication to excellence, we ensure seamless operation for all your home appliances. Trust us for efficient solutions and unparalleled customer satisfaction.

Get in touch

How Can We Help?

If you need any help, please feel free to contact us.

Washer installation

Installing a new washer can seem like a daunting task, but with the right tools and a step-by-step approach, you can have your appliance up and running in no time. Proper installation ensures optimal performance and longevity of your washer. This guide will walk you through the necessary steps to install your washer safely and efficiently.

Tools and Materials Needed:

  • Adjustable wrench
  • Pliers
  • Level
  • Bucket or towel
  • Teflon tape (plumber’s tape)
  • Hose clamps (if necessary)
  • Water supply hoses (hot and cold)
  • Drain hose

Related Services

Step-by-Step Washer Installation:

1. Choose the Location:

  • Select a location with easy access to water supply lines, a drain, and a power outlet.
  • Ensure the floor is level and strong enough to support the washer’s weight.

2. Prepare the Area:

  • Clear the area of any obstacles and clean the floor where the washer will be placed.
  • Measure the space to ensure the washer fits comfortably with enough clearance for ventilation and movement.

3. Connect the Water Supply Hoses:

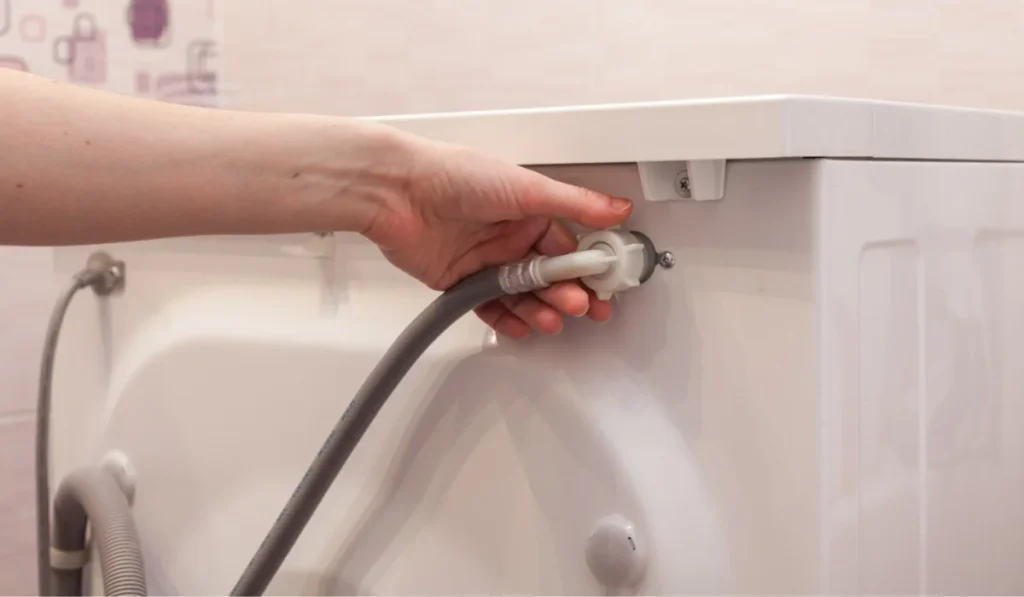
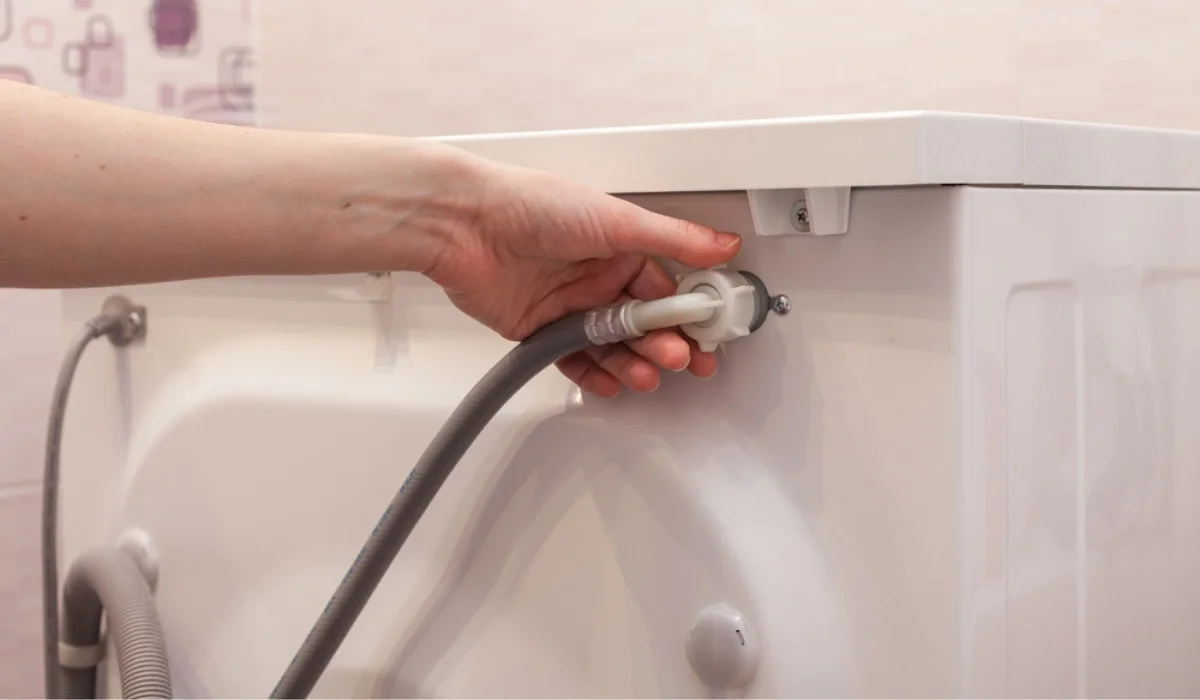
  • Attach the water supply hoses to the washer. The hoses should be labeled for hot (usually red) and cold (usually blue) water.
  • Use Teflon tape on the threads of the hose connections to prevent leaks.
  • Tighten the hose connections securely with an adjustable wrench, but avoid over-tightening.

4. Connect the Drain Hose:

  • Attach the drain hose to the washer’s drain outlet.
  • Secure the hose with a hose clamp if necessary.
  • Position the other end of the drain hose into the standpipe or laundry tub, ensuring it’s securely in place to prevent leaks or spills.

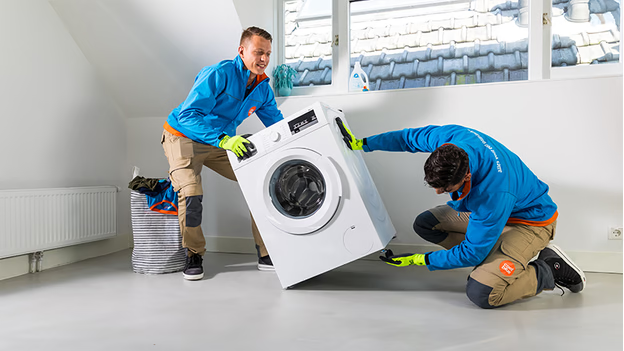
5. Level the Washer:

  • Use a level to check if the washer is perfectly level from front to back and side to side.
  • Adjust the washer’s feet as needed to achieve a level position. Tighten the lock nuts on the feet to keep them in place.

6. Plug in the Washer:

  • Plug the washer’s power cord into a grounded electrical outlet.
  • Ensure the outlet matches the washer’s power requirements (usually specified in the user manual).

7. Test the Washer:

  • Turn on the water supply valves to check for any leaks at the hose connections.
  • Run a short test cycle without laundry to ensure the washer fills, drains, and spins correctly.
  • Check for any unusual noises or vibrations, indicating the washer may need further leveling or adjustment.

8. Final Adjustments:

  • If the washer vibrates excessively, double-check that it’s level and all four feet are in firm contact with the floor.
  • Make any necessary adjustments to the water supply hoses and drain hose to ensure they’re securely attached and free from kinks or bends.

Conclusion:

By following these steps, you can successfully install your washer and ensure it operates efficiently and reliably. Proper installation not only enhances the performance of your appliance but also extends its lifespan. If you encounter any issues during installation, refer to the washer’s user manual or contact a professional for assistance.

Frequently Asked Question

What tools do I need to install a washer?

You will need an adjustable wrench, pliers, a level, Teflon tape (plumber’s tape), hose clamps (if necessary), water supply hoses (hot and cold), and a drain hose.

How do I choose the best location for my washer?

Choose a location with easy access to water supply lines, a drain, and a power outlet. Ensure the floor is level and strong enough to support the washer’s weight.

Do I need to level my washer during installation?

Yes, it is crucial to level your washer to prevent excessive vibration and movement during operation. Use a level and adjust the washer’s feet accordingly.How do I connect the water supply hoses to my washer?

How do I connect the water supply hoses to my washer?

Attach the hot and cold water supply hoses to the corresponding inlets on the washer, using Teflon tape on the threads to prevent leaks. Tighten the connections securely with an adjustable wrench.

How should I secure the drain hose?

Attach the drain hose to the washer’s drain outlet and secure it with a hose clamp if necessary. Place the other end of the drain hose into the standpipe or laundry tub, ensuring it is securely in place to prevent leaks or spills.What should I do if my washer vibrates excessively after installation?

What should I do if my washer vibrates excessively after installation?

If your washer vibrates excessively, check to ensure it is level and that all four feet are in firm contact with the floor. Make any necessary adjustments to the feet and recheck with a level.

Can I install a washer myself, or do I need a professional?

Many people can install a washer themselves by following the user manual and installation steps. However, if you are unsure or uncomfortable with the process, it is advisable to seek assistance from a professional.

How do I know if my washer is properly connected to the power supply?

Ensure the washer’s power cord is plugged into a grounded electrical outlet that matches the washer’s power requirements (usually specified in the user manual). Check that the outlet is functioning correctly.

What should I do if I notice leaks during the test cycle?

If you notice leaks during the test cycle, check the connections of the water supply hoses and the drain hose. Tighten any loose connections and ensure the hoses are properly seated and not damaged.

Is it necessary to use Teflon tape on the hose connections?

Yes, using Teflon tape on the threads of the hose connections helps to create a watertight seal and prevent leaks.
Scroll to Top